Painting Your 3D Prints
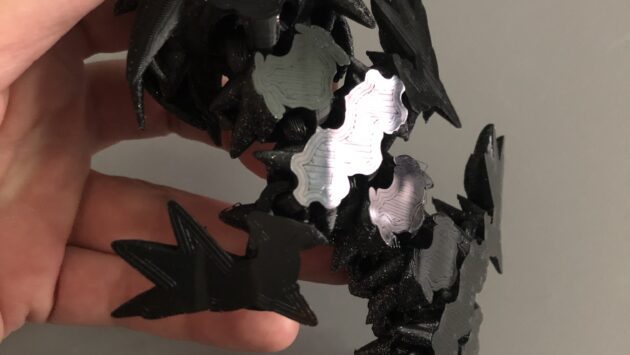
I have just dipped my brush into painting some details on my 3d prints. I have been using pray paint to add some much-needed color shift and sparkles in the past. I also have used rub and buff for adding some character and detail.
Before painting any of my prints I clean them with a snipper to remove and wandering filament from where it is not supposed to be. I continue with a quick blast of heat from my heat gun to remove and stringing. This is a much needed process for my higher detail prints such as the Cinderwing3D dragons.
When spraying paint on I make sure to be in a well-ventilated area- my garage floor, with some cardboard to prevent the paint from getting everywhere. Spray using the directions on the spray pains (8-10 inches away in short quick swipes.) For my color shift and the sparkle spray paint, I use what Hobby Lobby has on hand. I find the paint more expensive there but the color shift actually shows up and the sparkle is amazing.
With rub and buff, I use a foam brush, tear the foam off the brush and apply it with gloves on. With this you also need great ventilation. Wash hands immediately after applying.
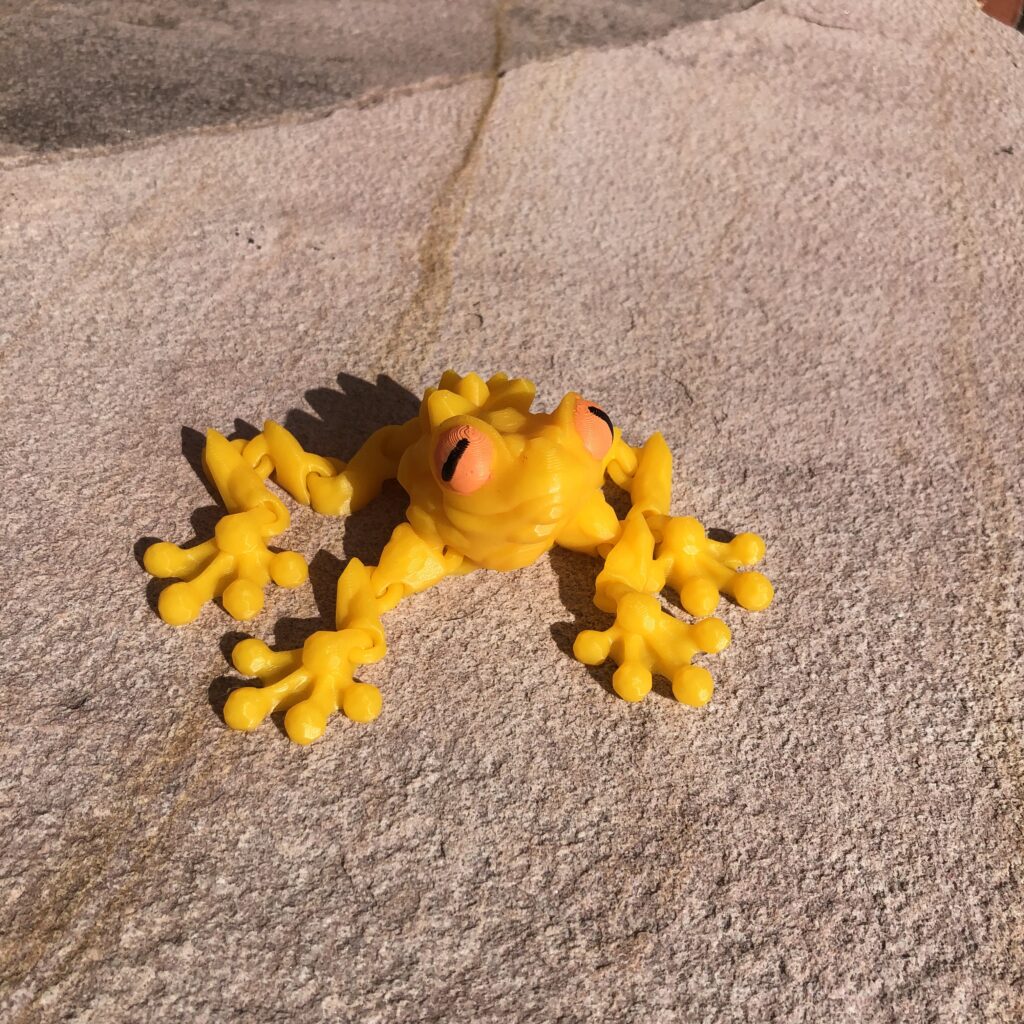
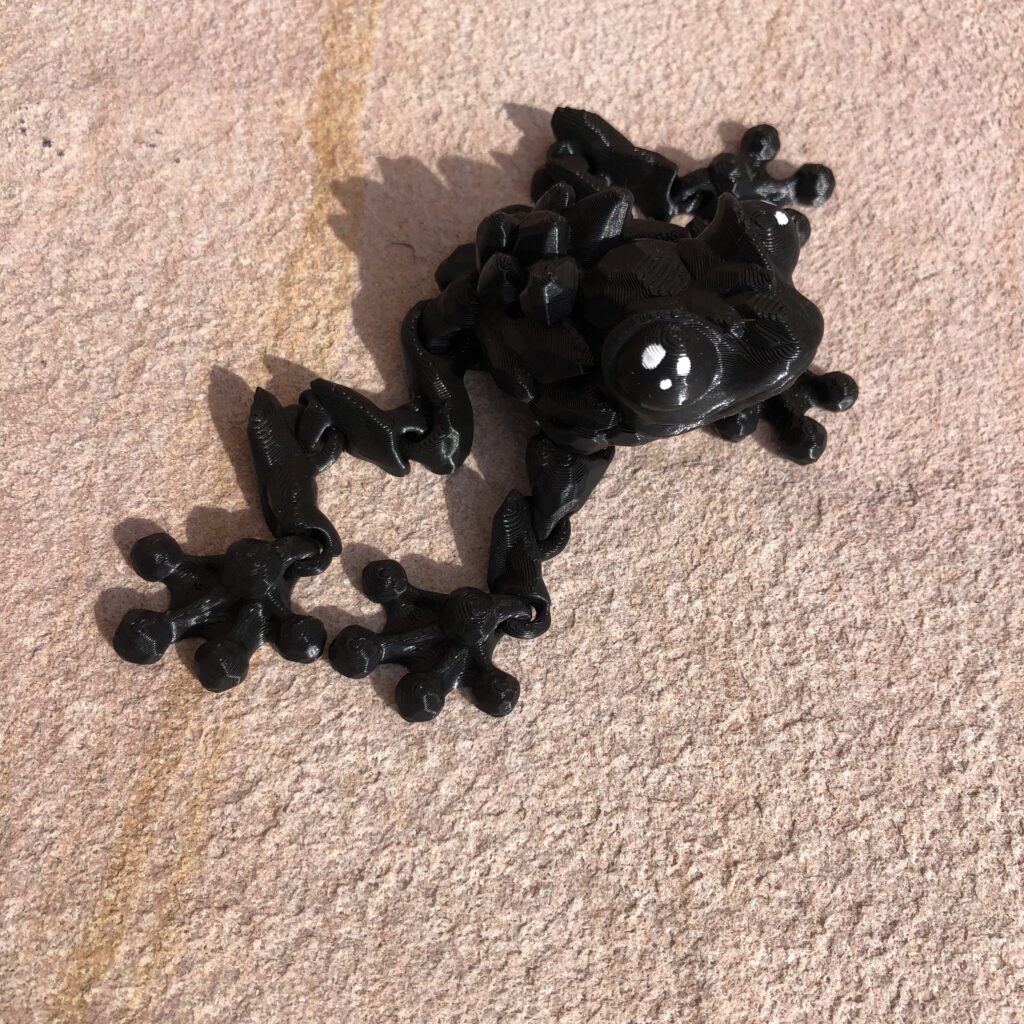
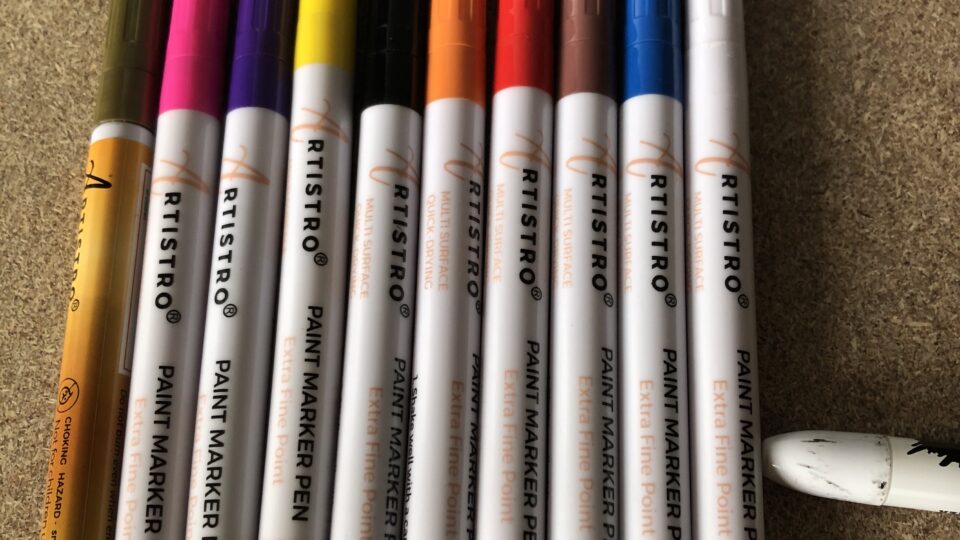
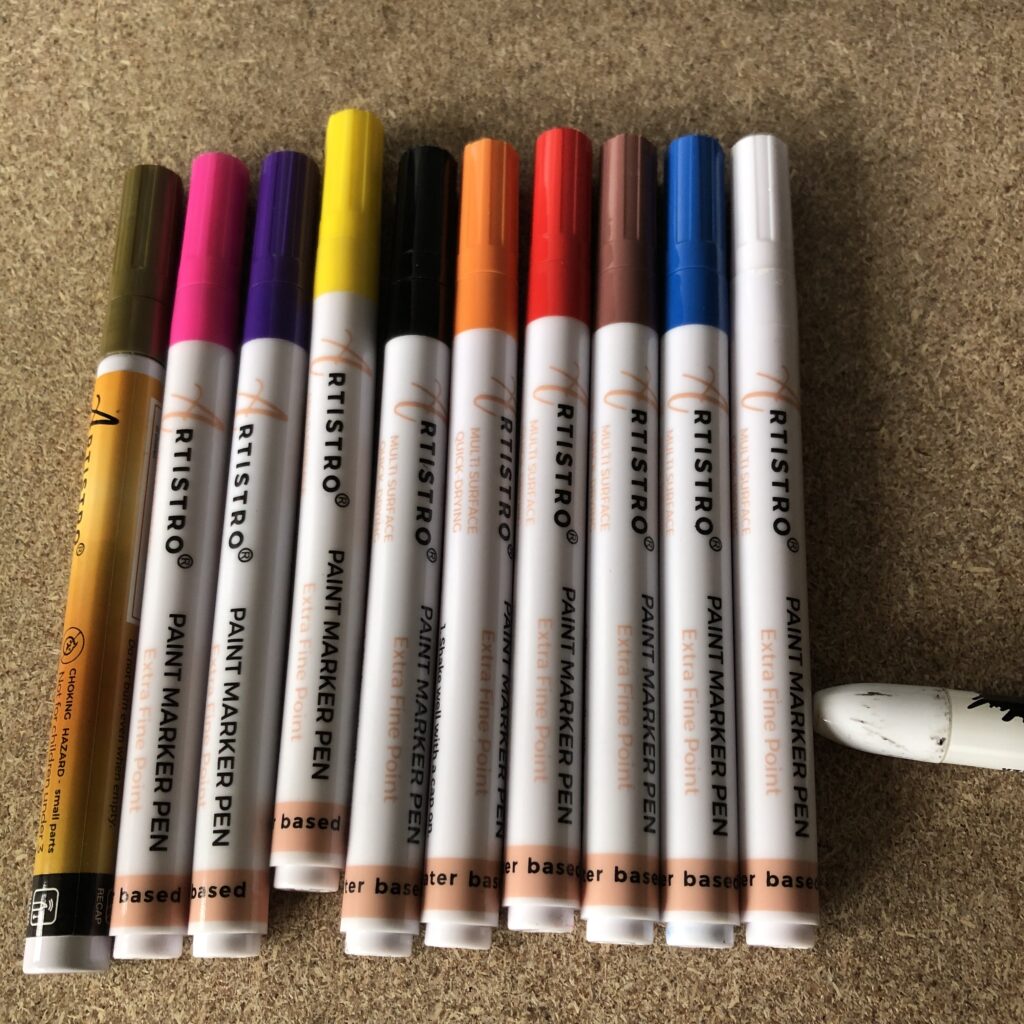
Detail painting is the more time consuming. I use Artistro brand acrylic paint markers off Amazon. They last a little while, although I would purchase extra of the color you need because they run out quickly if you are doing a lot of painting. I use the fine point since I only use these for detail painting (like the eyes on my prints). The tricky part of using these is that they BLEED. This is only a problem with translucent filaments and lighter (white or yellow) filaments. So only use as much as you need and there may be some clean up needed.
I hope this helps anyone starting out with painting their prints. Thanks for stopping by!
